
If last week’s Blog post was from the “You Learn Something New Every Day” heading, today’s should be from the “Stuff Everyone Needs to Know” department. We’ve discussed the File Explorer in the past, but haven’t explored (no pun intended) the way that files are sorted. By default, you’ll find everything in alphabetical order with folders placed before individual files. But, there are other options. Let’s take a look.
Before we go any further, let’s head to the File Explorer. In most cases, the File Explorer icon is visible on the taskbar at the bottom of the screen. If you see the icon on your computer (it looks like a manila folder), click on it, to launch File Explorer. If it isn’t there, follow these steps. In Windows 7, click “Start” then “Computer”. In Windows 8, move the mouse to the right side of the screen, and wait for the charms to appear. Click on the magnifying glass, and type “File Explorer”. Click on the top result in the list. If you’re on Windows 10, right-click on the “Start” button, then left click on “File Explorer” to begin. When you launch File Explorer, what you’re greeted with varies depending on the version of Windows you’re using. In Windows 7 you’ll see the drives that comprise the computer in the center of the screen, with Favorites (folders you frequent), Libraries, and Computer on the left side. Windows 8’s version begins with a combination of Favorites and Libraries at the top of the screen, and Devices and Drives underneath those folders in the center of the screen. The left side mirrors that of Windows 7, with one difference: “This PC” replaces “Computer”. Finally, Windows 10 has changed the center of the screen to show “Frequent folders” and “Recent files”, with the Frequent folders repeated at the top left of the screen, followed by This PC, and Network. While Computer and This PC are labeled differently among the versions, their function is the same: to list the drives and folders on your computer.
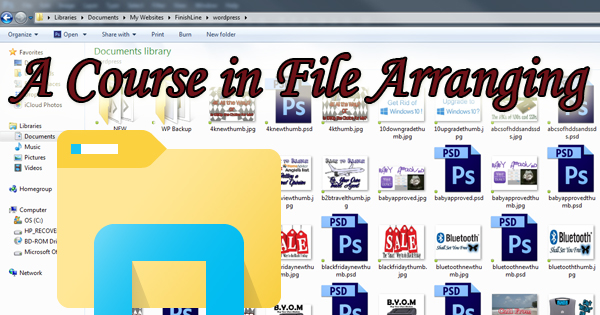
With File Explorer open, click on one of your libraries. For the purposes of this post, I’ll click on the “Documents” library. All of the documents saved on the hard drive are listed in alphabetical order from A to Z. Any folders are listed first, with the individual files following. That’s all well and good, but sometimes we’d like to see them displayed differently. To “explore” (I’ve gotta stop doing that!) your options, right-click in an open area on the right side of the screen. A menu will appear. Left click on “Sort By” and you’re presented with your possible choices. Choose from “Name”, “Date Modified”, “Type” or “Size”. Then, select “Ascending” or “Descending” to set the order. Clicking on “Name” will arrange your files in alphabetical order. “Date Modified” is the one I probably use the most. Half the time I can’t remember what I name a file, so this choice will put the most recently created and/or edited files at the top of the window making it easy to open or send something I’ve been working on. “Type” lists files according to the type of file that they are. For example, all of the PDF documents will appear together, and the same holds true for the Word documents. “Size” will not surprisingly list files by their size with the largest files at the top of the list. Any of these choices can be inverted if you also click on “Descending”. Give it a try and change from one to another – it’s easy to switch them back, and it won’t damage the file’s integrity.
Changing the way that files are sorted can do wonders for organization and productivity. It’s very simple to make these adjustments, and something that computer users of any experience can handle. Once again, Microsoft gets a lot wrong, but the customization included in Windows is a win every time.