
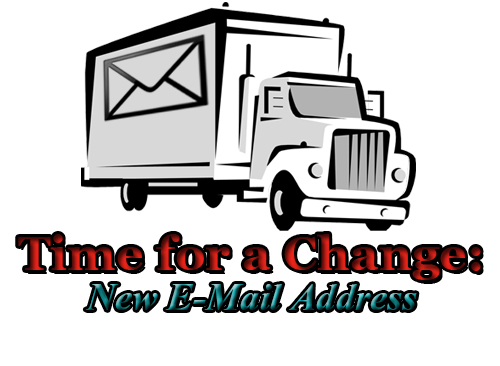
This week’s Finish Line Blog post is in honor of my Aunt Kathy. Not only is she a huge supporter of mine in life and in business, her latest frustration has inspired me to write this post. You see, for the last ten plus years, she’s paid $7 per month to maintain her Earthlink e-mail address. For the last four of those years, my wife and I have tried to “gently” nudge her in the direction of Gmail for her e-mail needs due to the fact that it’s free, and has an inordinate amount of storage space in comparison to Earthlink. We finally won, and last week, the Earthlink address was canceled. If you’re looking to save on a bill, or you’re simply tired of having the address cutecatlady85@aol.com, this post is for you!
If you’re like Kathy and have decided to switch to Gmail, the first thing you’d need to do is sign up. Head to mail.google.com to get started. Find “Create Account” under the sign in area, and click it. You’ll be asked to input basic information such as name, username (which will be your new desired address), create a password, birthday, gender, cell phone number, and current e-mail address. You’ll have to type the text shown in a photo to prove you’re a human being. This will be the hardest part of the process, because the pictures are never very clear! After you’ve done all that, click “Next Step”, and you’re on your way. Sign into your new e-mail account, and start enjoying your new service.
So, what’s the first thing you should do? Click the gear icon to the top right of the message pane to access the account settings. You’ll notice a series of options across the top of the screen, including General, Labels, Inbox, Accounts and Import, Filters and Blocked Addresses, Forwarding and POP/IMAP, Chat, Labs, Offline, and Themes. Feel free to peruse those in the future. For right now, we’re concerned with importing mail from your “old” e-mail address, to this “new” one, so click on, not surprisingly, “Accounts and Import”. Look to the right of the second heading down, “Import mail and contacts”, and click “Import mail and contacts”. In the pop up window, type your “old” e-mail address, and click “Continue”. Next, you’ll need to enter the password you used with your old account. The mail server for most e-mail services will be recognized immediately, however some will need to be entered manually. POP settings can be found by querying a search engine, or prior e-mail settings you may have on record. When you’re ready, click “Continue” again, and if successful, you can begin the import. If you’re anything like me, you’ll have a TON of e-mails to import, so be patient, it could take awhile! While you’re waiting, head back to your “old” account, find settings, then forwarding. Type your new address in the field asking where to forward your mail to, and e-mails from your “old” account will automatically be sent to your “new” account to avoid any missed e-mails during the transition.
The next thing to do, is to alert your contacts that you’ve changed your address. Thanks to the import, your contacts have moved with you, so there’s no need to re-invent the wheel. To navigate to your contacts in Gmail, click the icon with nine squares just to the right of your name in the top right corner of your screen. That icon represents the apps available in Gmail. Click “More” at the bottom of the window, and look for the very last app, “Contacts”. If you’d like to move Contacts in the list, click and hold the left mouse button, move it to the desired location, and release the mouse. Now that it’s in the place you’d like it, left click on “Contacts” to open the app. Hover the mouse over the “picture” to the left of a contact’s name, and you’ll notice a box appear. Click in that box so the contact now has a checkmark. A light blue bar will appear at the top of the screen, noting that one contact is selected. Click the down arrow next to “1 selected”, and click, “Select all”. See the three dots in a vertical line at the top right of the screen? Click that, then click “Email”. A new window will appear containing a new message with each contact listed in the “To” field. You can e-mail all of your contacts in one shot to let them know you have a new address! If you don’t want people to know the e-mail addresses of others in your contact list, click on a name, then click “Bcc” to the right. Bcc stands for blind carbon copy, and means that if you put an e-mail address in that field, the person will receive your message but only see your name in the “To” field and no one else’s. That’s considered good e-mail etiquette. To accomplish this, left click and drag each name into the “Bcc” field.
The biggest pain in the neck about changing e-mail addresses is giving your new one to each website you have an account with. From Facebook to Twitter to Amazon, the effort it takes is staggering. Moving e-mails alone is a fairly straightforward part of the process. While we focused on Gmail today, the other free e-mail providers (such as Hotmail and Yahoo) behave very similarly. Whatever your reason for wanting to change addresses, the important thing to know is you’re not locked into your current one forever. There is a way out!