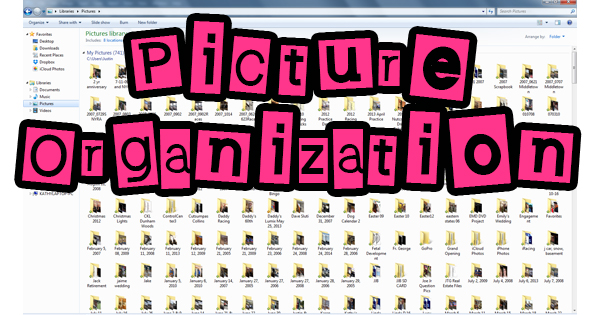
My wife and I just had our first child on February 10th. A healthy baby girl made her appearance at 12:10 A.M. She’s beautiful, and we’re very happy. Before her arrival, I wasn’t quite as happy. As most of you moms can probably remember, some serious nesting took place. Things were cleaned and organized that you wouldn’t think were even possible! From the house itself, to the DVR, to the freezer, nothing was overlooked. Because of this, it occurred to me that there’s plenty of nesting that could be done on your computer too. Most of us have pictures on our computers. Most of us (me included) spend more time looking for one particular picture than we do enjoying our photo gallery as a whole. So, what can we do to make better use of our time? Hold onto your hats boys and girls, we’re about to picture organization!
By default, computers utilizing modern Windows operating systems (Windows 7, Windows 8, or Windows 10) come equipped with four libraries: Documents, Pictures, Music, and Videos. The appropriate type of file will belong to the corresponding library automatically (i.e. a photo will be added to the Pictures library). This is how Microsoft has started us on the magical journey of organization. The rest is up to us. Think of a library as a large folder encompassing each photograph on your computer. If you have a thousand pictures on your computer, having them all in one folder can get a little overwhelming. A good practice would be to create new folders by date or event, and put the correct photos into the proper folder. Also, give each file a descriptive name which will help when searching for a particular file. If you’re looking for pictures taken at Christmas, Image001 isn’t helpful. A better choice would be Christmas2016001. If you were to search your computer for Christmas2016, chances are those photos would appear. In you’re wondering about how to perform a search, try this: in Windows 7, click “Start” and type what you’d like to search for in the box at the bottom of the Start menu. Hit “Enter” when you’re finished typing, and a window will appear showing files that contain the term you searched for. In Windows 8, hover the mouse over the right edge of the screen to display the magnifying glass. Click the magnifying glass, type a search term, and press “Enter”. In Windows 10, type what you’re looking for in the Search box to the right of the start button, then press “Enter” on your keyboard.
I suggested creating folders in the previous paragraph. If you don’t know how to do this, I’ll walk you through it. First, click the folder icon in the taskbar at the bottom of your screen. It’ll be to the right of the “Start” button (or where the Start button should be if you have Windows 8). On the left of the window that appeared, click on “Pictures” (under “Libraries”). What is displayed is the all-encompassing folder of pictures. If you want to create a new folder, right-click on an open area of the window. Go to “New” then click on “Folder”. A folder will be created with the name “New Folder” highlighted in blue. Since it’s highlighted in blue, you can clear the name New Folder and call it whatever you want. If you accidentally clicked something else and the name is no longer highlighted, right-click on the folder you just created, then click “Rename”. Call the folder what you want, then press “Enter”. If you’re interested in renaming individual images, the process is the same: right-click on the image, then click “Rename”. Type a name, then hit “Enter”. Pictures need to be renamed individually, so it’s a time consuming process. Now that your folder(s) is(are) created, you may begin adding pictures to the folder(s). Left-click and drag a picture to the desired folder. When the folder lights up (blue), release the mouse button, and the picture is added to the folder. To select (highlight) more than one picture, hold the “CTRL” key and click on the next picture, or hold the “CTRL” key and left-click and drag the mouse to draw a box around entire rows of pictures. Use the same process to add multiple pictures to a folder as you did earlier with an individual photo.
Life is hectic. Time is money. Whatever cliche you’d like to use, we’re busy. With a little organization, you can spend more time enjoying the photos on your computer than looking for them. Start “Picturing Organization” today!
